移动端Vue适配小练习
- 为了练习,就没有使用自动转换rem的功能,想了解的可以看看这几位博主的
- 想看源码的可以到github或者gitee上下载(后台也打包好了)
项目遇到的问题记录
Navigation aborted from “/center“ to “/login“ via a navigation guard
解决方法:
vue_project\src\router\index.js 路由主入口文件当中添加如下代码
1
2
3
4
5
6
7
8
9
10
11
12
13
14
15
16
17
18
19
20
21
22
23
24
25
26
27
28
29
30
31
|
const originalPush = VueRouter.prototype.push
VueRouter.prototype.push = function push(location, onResolve, onReject) {
if (onResolve || onReject)
return originalPush.call(this, location, onResolve, onReject)
return originalPush.call(this, location).catch((err) => {
if (VueRouter.isNavigationFailure(err)) {
return err
}
return Promise.reject(err)
})
}
const originalReplace = VueRouter.prototype.replace
VueRouter.prototype.replace = function replace(location, onResolve, onReject) {
if (onResolve || onReject){
return originalReplace.call(this, location, onResolve, onReject)
}
return originalReplace.call(this, location).catch((err) => {
if (VueRouter.isNavigationFailure(err)) {
return err
}
return Promise.reject(err)
})
}
|
配置代理问题
由于视频的是react,所以配置代理花了一点时间
在vue.config.js当中,主要是proxy的配置
1
2
3
4
5
6
7
8
9
10
11
12
13
14
15
16
17
18
19
| const { defineConfig } = require('@vue/cli-service')
module.exports = defineConfig({
lintOnSave:false,
transpileDependencies: true,
devServer:{
proxy:{
"/dev":{
target:"http://localhost:5000",
changeOrigin:true,
pathRewrite:{
"^/dev":"",
}
}
}
}
})
|
注意:这样子写的话所有api请求都需要戴上/dev前缀了,所以一般都是对axios进行二次封装,下面是我的二次封装
1
2
3
4
5
6
7
8
9
10
11
12
13
14
15
16
17
18
19
20
21
22
23
24
25
26
27
28
29
30
31
32
| import axios from "axios";
import nprogress from "nprogress"
import "nprogress/nprogress.css"
const service = axios.create({
baseURL:"/dev",
timeout: 2000
});
service.interceptors.request.use((config) => {
nprogress.start();
return config;
})
service.interceptors.response.use((response) => {
nprogress.done();
return response.data || response;
}, (error) => {
nprogress.done();
console.log("未知错误!");
return new Promise(() => {});
})
export default service;
|
OAuth认证
OAuth2.0
- OAuth 2.0 是目前最流行的授权机制,用来授权第三方应用,获取用户数据。
- 简单说,OAuth 就是一种授权机制。数据的所有者同意其他应用使用自己存储的用户信息。
授权流程(以GitHub为例)
GitHub官方文档
开发流程介绍
- 从A 网站跳转到 GitHub授权页面。
- GitHub 要求校验用户信息,引导用户登录。
- GitHub 询问”A 网站要求获得你的xx数据,你是否同意?”
- 用户同意,GitHub 就会重定向到A网站对应的服务器,同时发回一个授权码。
- A网站服务器使用授权码,向 GitHub 请求令牌。
- GitHub 返回令牌token. A网站服务器使用令牌,向 GitHub 请求用户数据。
应用登记
- 一个应用要 OAuth 授权,必须先到对方网站登记,让对方知道是谁在请求。
使用GitHub授权
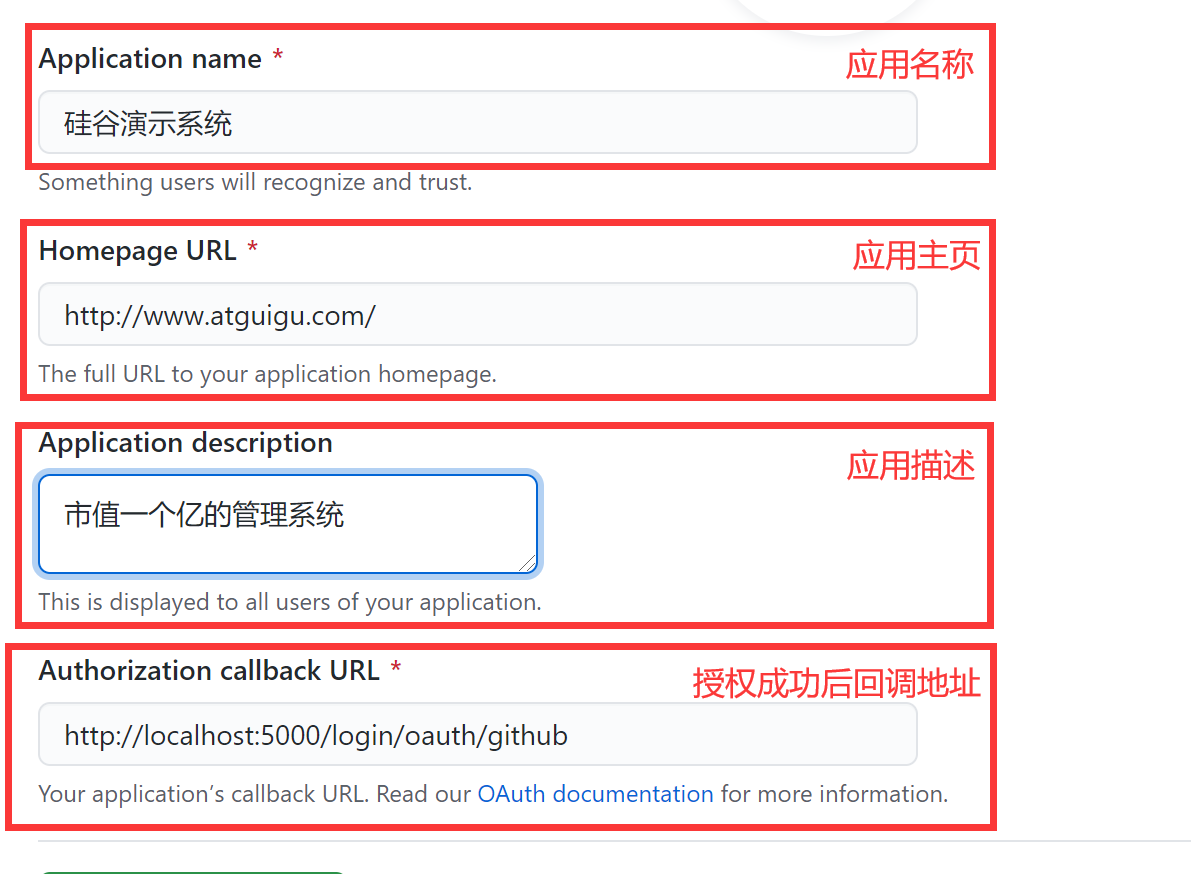
1.GitHub登记应用
登记地址:https://github.com/settings/applications/new
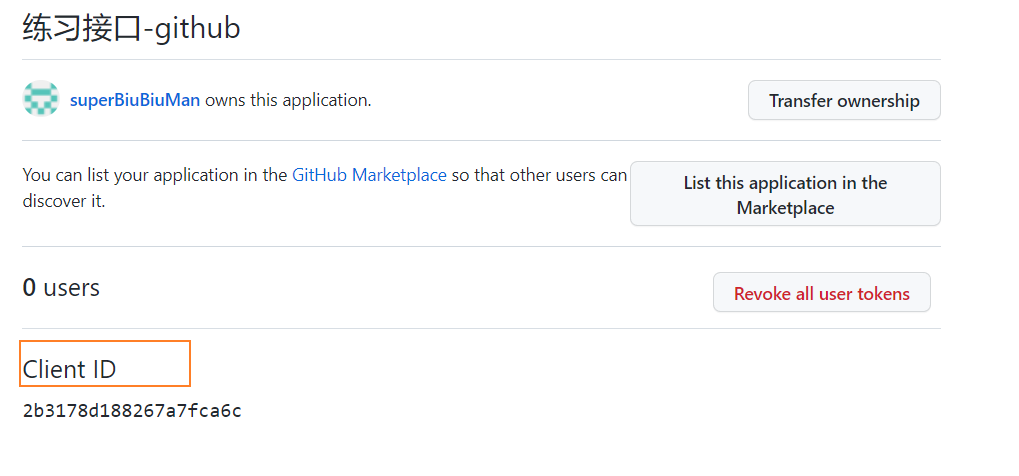
2.获得client_id
查看地址:https://github.com/settings/developers
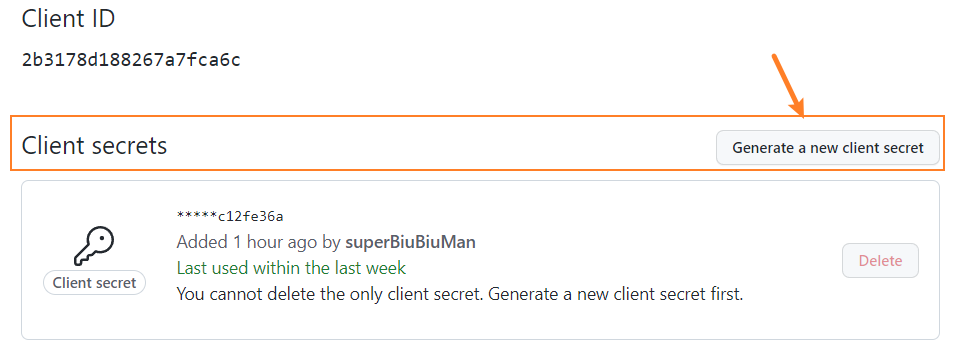
3.获得Client secrets
4.配置
4.1 前台项目准备好个人中心组件,供授权成功后查看
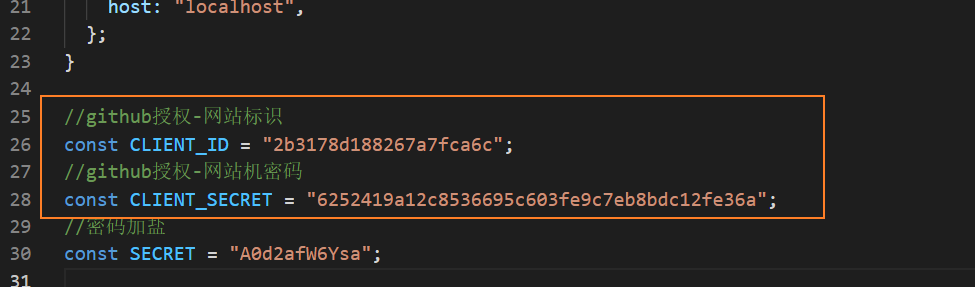
4.2 将得到的 client_id 、clinet_secret配置到服务器config\index.js中,随后重启服务器。
1
2
3
|
const CLIENT_ID = "xxxxxxxxxxxxxxx";
const CLIENT_SECRET = "xxxxxxxxxxxxxxx";
|
4.3 配置前端请求地址,这里就不写了
4.4 项目中携带网站标识跳转到授权页
1
2
3
| loginGithub = ()=>{
window.location.href = AUTH_BASE_URL+'?client_id='+CLIENT_ID
}
|
项目启动
1.电脑安装好MongoDB后启动
2.server路径下cmd打开,输入npm start
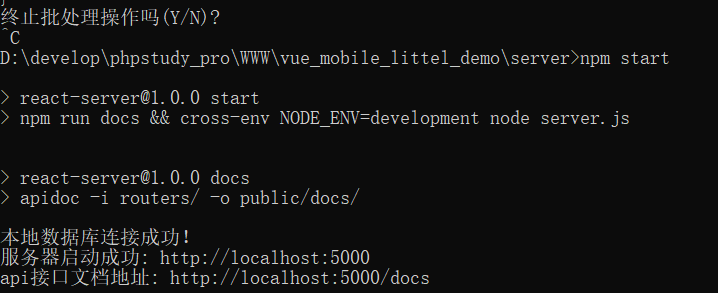
3.项目启动 ,项目路径下cmd打开,输入npm run serve后浏览器进入~

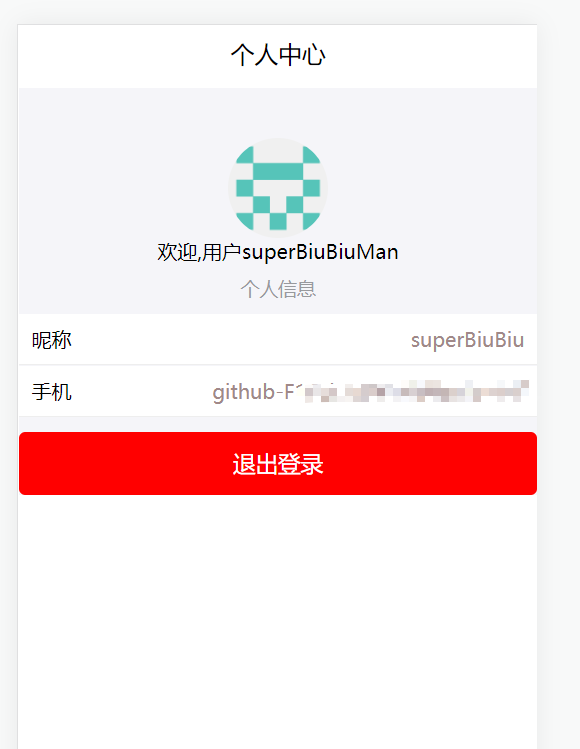
项目的展示
主页登录
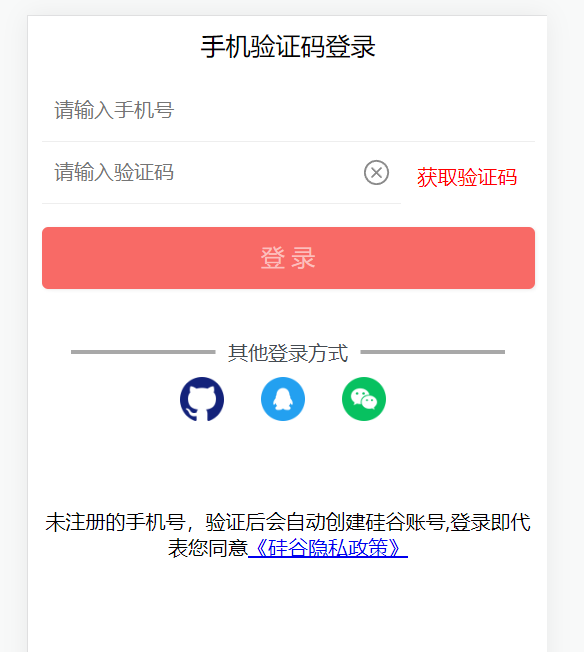
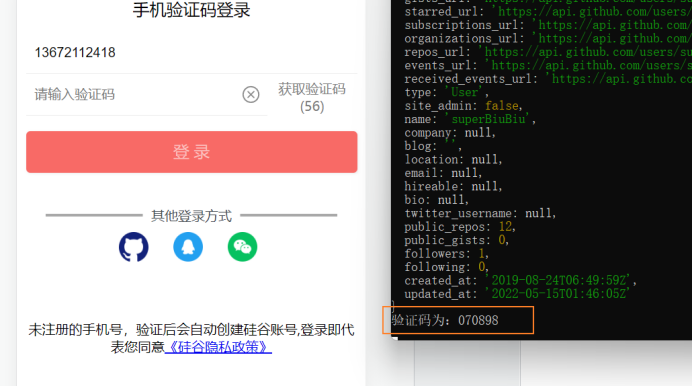
获取验证码
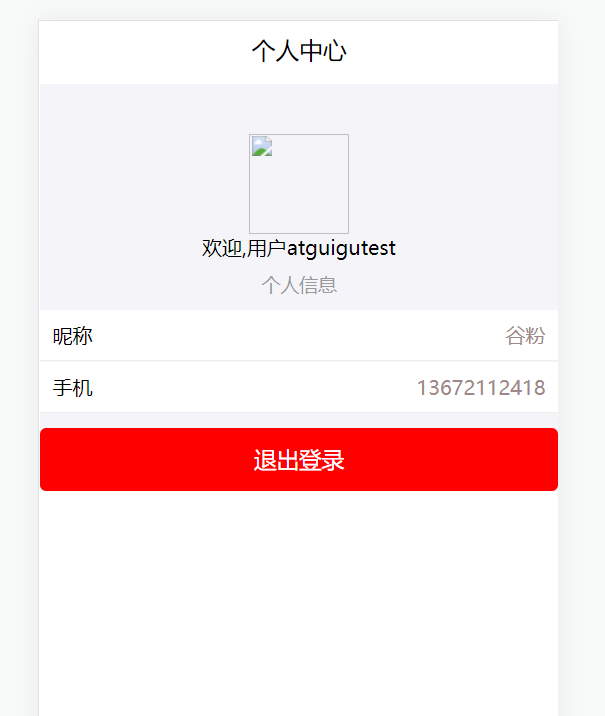
个人中心
github关联
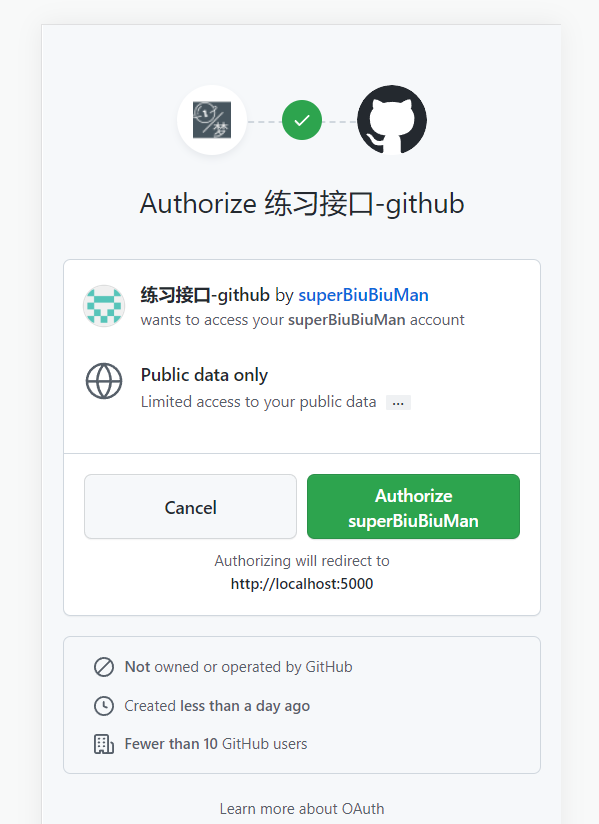
关联后