
无js实现拖拽边框改变div大小的笔记
前言
- 最近刷抖音看到一款游戏”拣爱”,看到这个人手动拖动的很有意思,就想着能不能前端实现,来学习学习,虽然说最终的效果没有gif图片那么好,但是也算实现了,,,,吧….

具体原理
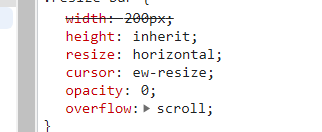
- 利用
resize属性所出现的小拖拽条

- 再配合
::-webkit-scrollbar设置拖拽区域宽度,高度,结合opacity:0即可将可拖拽区域覆盖整个div
具体效果和代码
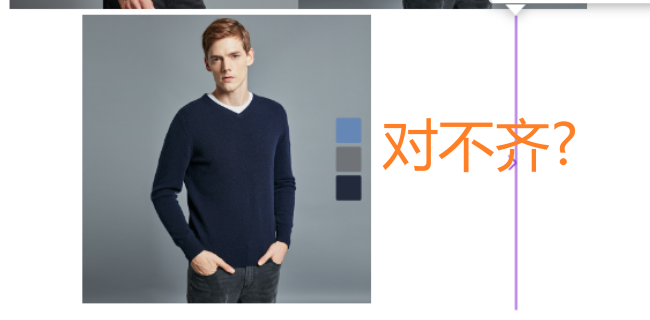
效果

代码
1 |
|
参考链接和文章
本博客所有文章除特别声明外,均采用 CC BY-NC-SA 4.0 许可协议。转载请注明来自 梦洁小站-属于你我的小天地!
相关推荐


评论
